Disclaimer: This post may contain affiliate links. As an Amazon Associate, we earn from qualifying purchases.
Last updated on July 26, 2026
The best way to clean a litter box isn’t the way most guides explain it.
If you’ve ever scrubbed the box, added fresh litter, and still noticed a smell lingering in the room, you’ve already seen the problem. The box looks clean, but something isn’t actually getting removed.
If odor is already a problem, it usually means something deeper is being missed. This guide on cat litter for odor control explains how to fix the root cause.
The best way to clean a litter box is to fully empty it, scrape away any stuck litter, wash it with a cleaner that removes odor instead of just soap, dry it completely, and refill it with enough litter to prevent waste from reaching the bottom.
The real solution isn’t just cleaning more often. It’s cleaning in a way that actually removes what’s causing the smell in the first place.
Using the right tools also makes a big difference. A sturdy scoop and an odor-neutralizing cleaner help prevent buildup that causes smells to come back quickly.

A simple daily cleaning routine helps prevent odor and buildup before it becomes a bigger problem.
Why Your Litter Box Still Smells After Cleaning
Cleaning the litter box doesn’t always remove what’s causing the smell.
Sometimes the issue isn’t the litter at all, but residue that stays behind on the surface of the box.
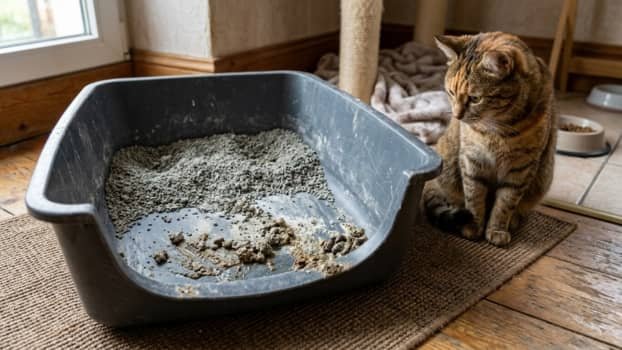
Residue and stuck litter at the bottom of the box can trap odor even after cleaning.
Odor Gets Trapped in the Plastic
Plastic litter boxes don’t stay smooth for long. Scratches from scooping and your cat’s claws create tiny grooves that trap bacteria and waste.
Even after washing, those areas can hold onto odor. That’s why the smell often comes back so quickly. If this is a persistent problem, switching to a non-porous material is usually the fix — this guide on stainless steel vs plastic litter boxes explains the difference clearly.
If the box has been used for a while, the plastic itself can start to hold that smell permanently.
Soap Doesn’t Fully Remove Urine Residue
Soap helps with surface dirt, but it doesn’t fully break down the compounds in urine that cause odor.
This is where a basic vinegar rinse or an enzyme cleaner makes a difference. They break down what’s causing the odor instead of just cleaning the surface.
An enzyme-based spray like this one uses bio-enzymes to break down urine compounds instead of masking the smell. It’s simple to use. Spray it on the empty box, wipe it down, and it helps remove the residue that regular soap leaves behind.
Some people also use it between full cleanings to keep odor from building up as quickly, especially in smaller spaces where smell becomes noticeable fast.
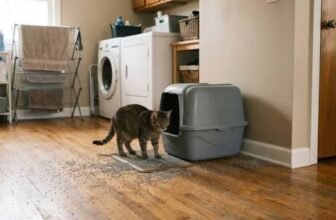
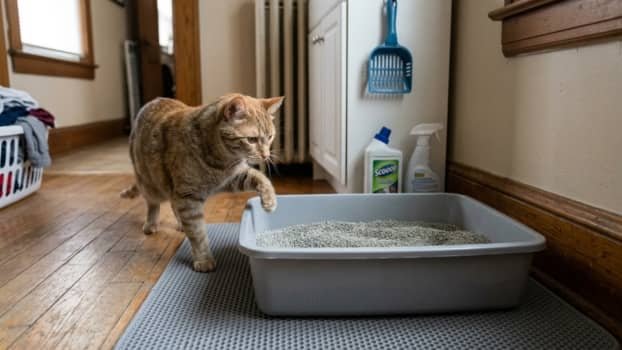
Litter Sticking to the Bottom Creates Buildup
If you’ve ever had to scrape off a sticky layer at the bottom of the box, that’s a sign the litter isn’t deep enough.
When the layer is too thin, urine hits the plastic before it can fully clump. Over time, that creates a hardened buildup that traps odor and makes cleaning harder every time.
Keeping enough litter in the box prevents this from happening in the first place.
The Best Way to Clean a Litter Box Step by Step
Cleaning a litter box properly isn’t complicated, but the order you do things in makes a big difference.
Skipping steps or doing them in the wrong order is what usually leads to lingering odor and buildup.
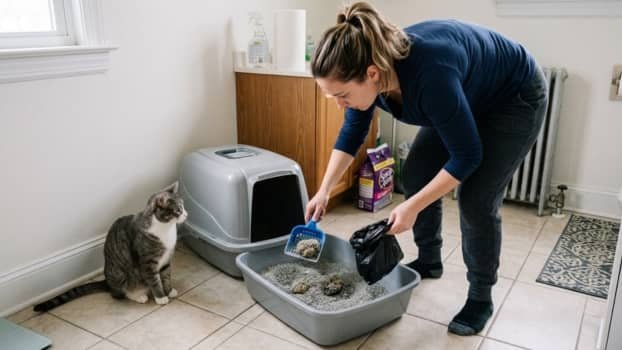
Step 1: Empty the Box and Scrape It Dry
Start by dumping all the litter into a trash bag.
Before adding any water, take a minute to scrape the bottom and corners of the box. This removes stuck clumps and buildup while everything is still dry.
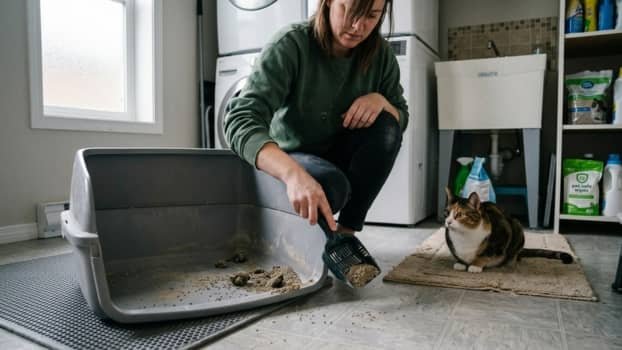
Scraping the litter box while it’s still dry helps remove buildup that becomes harder to clean later.
If you skip this step and go straight to rinsing, the residue turns into a paste that’s harder to remove.
A sturdy scoop makes this much easier, especially if you’ve dealt with that stuck cement layer before.
You can use a basic plastic scoop, but a metal scoop like this one holds its shape better and makes scraping faster.
Step 2: Break Down the Residue First
Once the loose debris is gone, this is where you deal with what’s actually causing the smell.
Spray the box with your enzyme cleaner or use a vinegar rinse and let it sit for a few minutes. This helps loosen urine residue and buildup before you start scrubbing.
This step is what most quick cleaning routines miss.
Step 3: Wash the Box Properly
After the residue has been treated, wash the box with warm water and a small amount of mild soap.
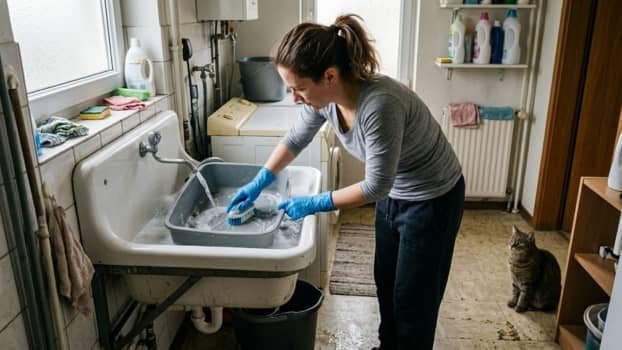
Washing with warm water and a brush helps remove residue without leaving behind strong smells.
You don’t need anything harsh here. Strong cleaners can leave behind smells that cats don’t like and may avoid.
Use a dedicated brush or sponge for this. Keeping one just for the litter box avoids spreading bacteria to other areas.
A simple scrub brush like this works well and gives you better reach into corners.
Step 4: Rinse and Dry Completely
Rinse thoroughly so there’s no soap or cleaner left behind.
Then dry the box completely before adding new litter.
This step is easy to rush, but it matters. Any leftover moisture can trap odor and cause fresh litter to break down faster.
If possible, let the box air dry fully or wipe it down and give it a few extra minutes.
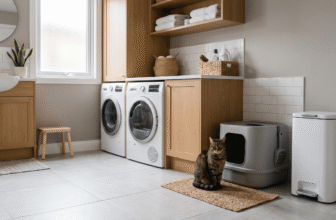
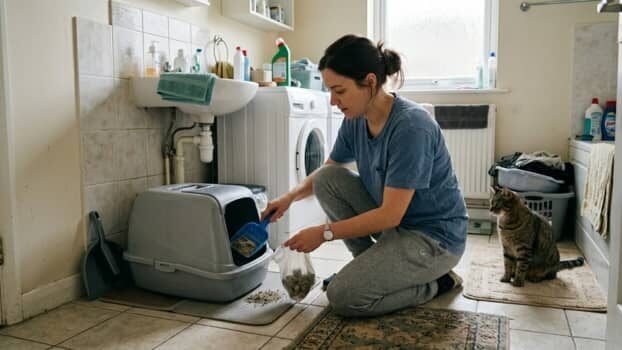
Step 5: Refill with Enough Litter
Add fresh litter to a depth of about three to four inches.
Filling the box to the right depth helps prevent buildup and keeps odor under control.
This helps prevent urine from reaching the bottom of the box, which is what causes that sticky buildup in the first place.
Keeping the depth consistent also makes scooping easier and keeps odor under control between cleanings.
Daily vs Deep Cleaning: What Actually Matters
Cleaning a litter box isn’t just one task. There’s a big difference between daily maintenance and a full deep clean.
Mixing the two up is what usually leads to odor building up or the litter box getting harder to manage over time.
Daily Cleaning Keeps Odor Under Control
Daily cleaning is all about removing waste before it has time to sit.
If you’re unsure how often is enough, this guide on how often you should scoop a litter box breaks it down based on single- and multi-cat setups.
Scooping the litter box daily helps prevent odor and keeps buildup from forming.
After scooping, top up the litter so the depth stays consistent. If the level drops too low, you’ll start running into the same sticking and buildup problems again.
This is the easiest part of the routine, but it makes the biggest difference day to day.
Deep Cleaning Removes What Daily Scooping Misses
Even with regular scooping, residue builds up over time.
Small particles, moisture, and urine traces settle into the bottom and sides of the box. That’s what eventually causes the smell that doesn’t go away.
A full deep clean resets the box completely. This is where you follow the full process of emptying, scraping, washing, and drying. If you are also dealing with litter being carried out of the box during cleaning, this guide on litter tracking solutions covers what helps most.
Cleaning resets the box, but it’s just as important to know when the litter itself needs replacing. This guide explains how often you should change cat litter based on your setup and how quickly it breaks down.
For most setups, doing this every one to two weeks works well. If you have more than one cat, you may need to do it more often.
How to Tell When It’s Time to Deep Clean
Instead of following a strict schedule, it helps to watch for signs:
- a faint smell even after scooping
- litter starting to stick more than usual
- the box looking dull or slightly coated
- your cat hesitating before using it
When you notice these, it’s time for a full clean.
A Simple Routine That Actually Works
Keeping things consistent is easier than doing big cleanups all at once.
A simple routine looks like this:
- scoop daily
- top up litter as needed
- deep clean every one to two weeks
- adjust based on smell and buildup
Once this becomes a habit, the box stays easier to manage and doesn’t reach the point where it feels like a bigger job than it should.
Common Cleaning Mistakes That Make Odor Worse
A lot of litter box problems don’t come from skipping cleaning. They come from small habits that seem fine but make odor and buildup worse over time.
Fixing these usually makes a bigger difference than cleaning more often.
Only Scooping and Never Fully Resetting the Box
Scooping removes visible waste, but it doesn’t remove everything.
Over time, small particles and moisture collect at the bottom of the box. That’s what leads to the smell that doesn’t go away, even after fresh litter is added.
This is why deep cleaning matters. Without it, the box never fully resets.
Using Low-Quality Litter That Breaks Down Too Fast
If odor keeps coming back even after cleaning, the litter itself is often the issue.
Some litter looks fine at first but doesn’t hold up well after a few days.
It crumbles, stays damp, and stops forming solid clumps. That’s when odor starts spreading and sticking to the box.
Switching to a better clumping litter can make a noticeable difference here. It keeps waste contained and makes the box easier to clean between deep washes. This guide to the best clumping cat litter covers which formulas hold together best in daily use.
A litter like this forms solid clumps that don’t fall apart when scooping, which helps prevent moisture and odor from spreading through the box.
Letting the Litter Level Get Too Low
When the litter layer gets thin, urine reaches the bottom of the box.
That’s what causes the sticking and buildup that’s hard to remove later.
Keeping the depth consistent is one of the simplest ways to avoid this problem entirely.
Using Strong Cleaners or Heavy Scents
It might seem like stronger cleaners would fix odor faster, but they often create a different problem.
Strong smells can make cats avoid the box, and some cleaners leave behind residue that mixes with waste and makes odor worse over time.
Sticking to simple cleaning methods works better.
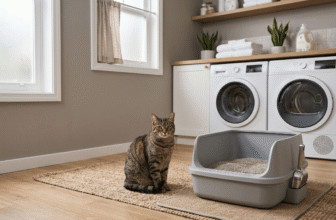
Keeping a Worn-Out Plastic Litter Box Too Long
At a certain point, cleaning stops being effective.
Plastic litter boxes wear down over time. Scratches build up, and the surface starts holding onto odor even after a full clean.
If the box still smells shortly after cleaning, the material itself is often the issue.
This is where switching to something like a stainless steel litter box can make a noticeable difference. The surface doesn’t absorb odor, and waste doesn’t stick the same way it does with plastic, which makes regular cleaning much easier.
A litter box like this is a good example. The smooth metal surface helps prevent buildup, and the higher sides can also reduce mess outside the box.
Related Solutions That Make Cleaning Easier
Cleaning the litter box gets much easier when the setup around it is working with you instead of against you.
A few small changes can reduce odor, cut down on mess, and make the whole routine feel quicker.
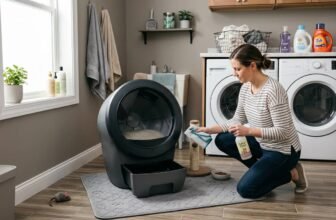
A Litter Disposal System Keeps Odor Contained

One of the most frustrating parts of cleaning isn’t the box itself. It’s dealing with the waste after scooping.
Throwing it into a regular trash bag works, but the smell builds up quickly, especially if the box is in a smaller space.
A sealed disposal system fixes that. Instead of taking waste out right away, you scoop it into the container and it locks the odor inside.
A litter genie is a good example of how this works in practice. It uses a multi-layer bag system to seal in waste and odor, so you don’t smell it every time you walk past. It can also hold up to about two weeks of waste for one cat, which means fewer trips to the trash.
It’s simple to use. Scoop the clumps, drop them in, and close the lid to seal everything off. That alone makes daily cleaning feel much easier and less messy.
The main downside is the refill bags. They work well, but they’re an ongoing cost to keep in mind.
Litter Mats Help Control the Mess Outside the Box
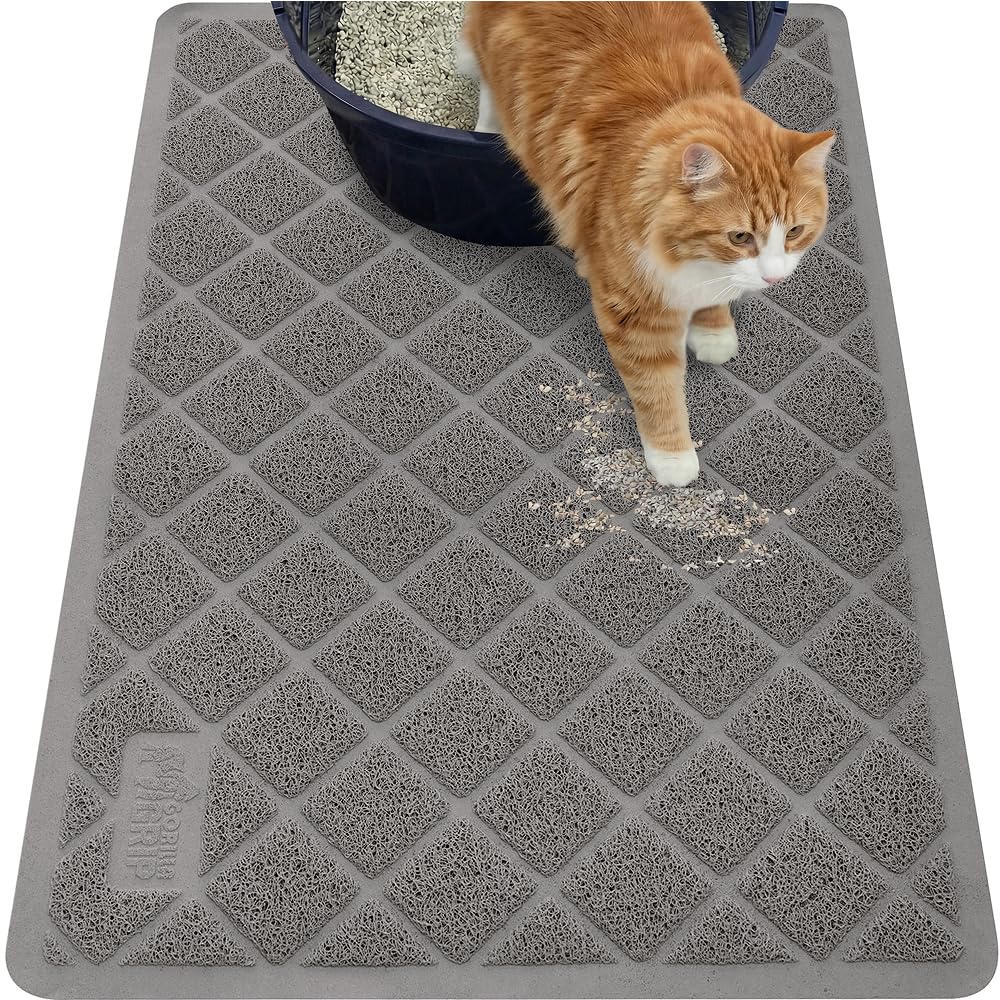
Even when the litter box itself is clean, the area around it can get messy fast.
Cats naturally track litter out on their paws, especially with finer clumping litter. That’s what leads to scattered bits on the floor and that gritty feeling when you walk nearby.
A litter mat helps catch that before it spreads. As your cat steps out of the box, the mat traps loose litter so it stays in one place instead of getting tracked around the room.
A mat like this uses a textured surface to pull litter off your cat’s paws, which makes a noticeable difference in how clean the area stays.
Deodorizers Help Between Full Cleanings
Even with regular scooping, odor can start to build up between deep cleans.
A light deodorizer can help keep things under control during that time. It doesn’t fix the root problem, but it slows down odor buildup and keeps the box more manageable day to day.
A litter deodorizer like this can be added in small amounts to help absorb odor without overpowering the box.
Frequently Asked Questions
How often should you clean a litter box?
Scoop the litter box at least once a day. In multi-cat setups, scooping twice a day helps keep odor under control.
A full deep clean usually works best every one to two weeks, depending on how quickly buildup and smell return.
What is the best thing to clean a litter box with?
Warm water and a small amount of mild soap works for basic cleaning, but it doesn’t remove everything.
For better results, use a vinegar rinse or an enzyme cleaner to break down urine residue that causes odor.
Can you use bleach to clean a litter box?
Bleach isn’t recommended.
It can leave behind strong smells that cats avoid, and mixing it with urine residue can create harmful fumes. Simple cleaners are safer and work better for regular use.
Why does my litter box still smell after cleaning?
The smell usually comes from residue left behind on the surface of the box.
Scratches in plastic and leftover urine compounds can hold odor even after washing. That’s why the smell comes back quickly if the box isn’t fully cleaned or is worn out.
How often should you replace a litter box?
Plastic litter boxes usually need replacing every 6 to 12 months, depending on use.
If the box still smells shortly after cleaning or has visible wear and scratches, replacing it can make a noticeable difference.